Tips for Night Sky Photography While Traveling
Tips for Night Sky Photography While Traveling

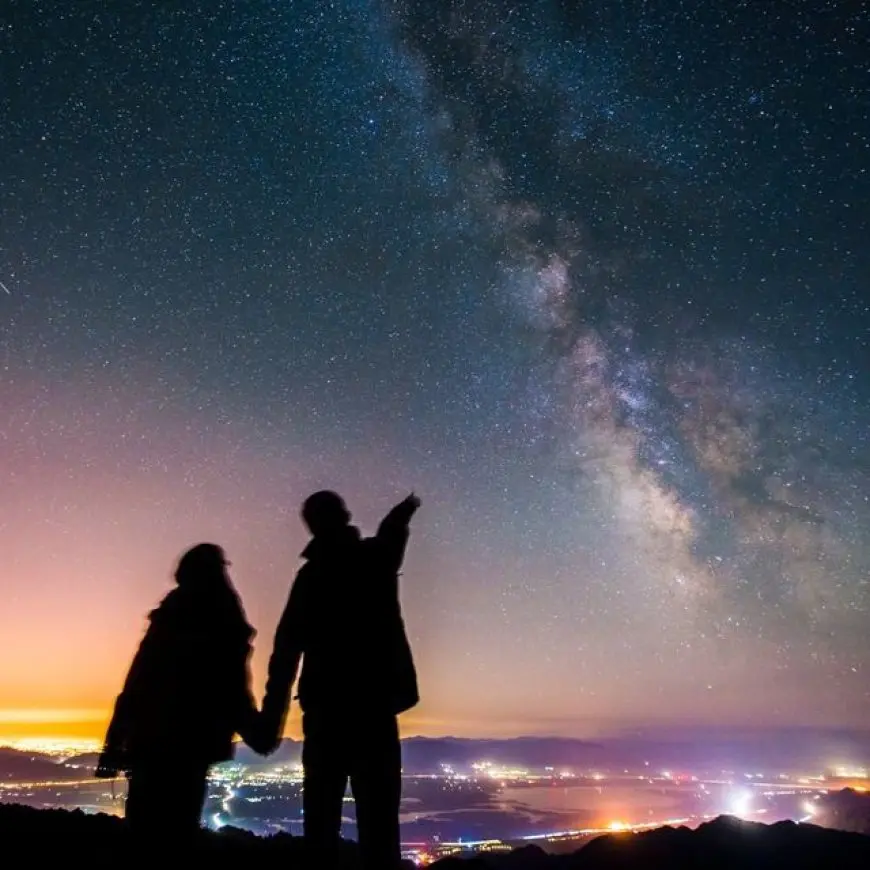
Capturing the beauty of the night sky is one of the most rewarding aspects of photography, especially when you're traveling in unique locations. Whether you're aiming to photograph the Milky Way, star trails, or the Northern Lights, here are some tips to help you master night sky photography:
Choose the Right Location
Select a location away from city lights to minimize light pollution. National parks, mountain ranges, and remote desert areas are ideal. Use light pollution maps or apps like Light Pollution Map or Dark Sky Finder to pinpoint the darkest areas near you.
Plan Around the Moon
The moon’s brightness can wash out stars and other celestial objects. For the best night sky photos, aim for nights when the moon is new or in its waxing/waning phases. Check moon phases using apps like Photopills or Time and Date to plan your shoot accordingly.
Use a Tripod
Stability is key when photographing the night sky. A sturdy tripod will eliminate camera shake and ensure your long-exposure shots are crisp. Consider a tripod with adjustable legs to help you set up on uneven terrain.
Set a Wide Aperture
To capture as much light as possible, use a wide aperture (low f-number, like f/2.8 or f/4) on your camera lens. This will allow more light to hit the sensor and help produce clear images of faint stars. If you're photographing the Milky Way, a fast lens (f/1.8 to f/2.8) is ideal.
Adjust Your ISO
A higher ISO (around 1600 to 3200) is necessary for night sky photography to capture enough light. However, be cautious—higher ISO settings can introduce noise, so you may need to find the right balance. If your camera handles noise well, you can push the ISO higher, but try not to exceed 3200 for cleaner shots.
Use Longer Exposure Times
Long exposure times are crucial for capturing star trails and the Milky Way. A good rule of thumb is to keep your exposure between 10 and 30 seconds, depending on your focal length. If you’re shooting star trails, exposures can last several minutes or even hours.
Experiment with Focus
Focusing in the dark can be tricky, but it’s essential for sharp images. Start by focusing your lens on a distant light or star, and then switch your camera to manual focus. If you're using a DSLR or mirrorless camera, focus in live view on a bright star or use the focus peaking feature if available.
Use a Remote Shutter or Timer
Pressing the shutter button can cause camera shake, so it’s best to use a remote shutter release or your camera’s timer function. This way, you can avoid disturbing the camera while taking the shot, ensuring sharper images.
Capture Star Trails
To create beautiful star trails, use long exposures (several minutes to hours) or stack multiple short exposures in post-processing. Alternatively, a time-lapse approach, with multiple shots taken every few seconds, can also create the effect of continuous star movement.
Shoot in RAW
Shooting in RAW format gives you more flexibility during post-processing, especially when editing exposure, contrast, and noise reduction. It allows you to retain more details in the highlights and shadows, which is essential for night sky photos.
Be Prepared for Cold and Elements
Night photography often takes place in cold, remote environments. Dress warmly and bring extra batteries, as cold weather can quickly drain battery life. Also, pack lens wipes to keep your lens clear of moisture or frost.
Consider Light Pollution Filters
If you’re shooting in an area with moderate light pollution, a light pollution filter can help reduce the effects and improve the clarity of stars. These filters can be attached to your lens and reduce the orange or yellow glow caused by streetlights and other artificial lighting.
Use Apps to Help with Planning
Several apps can assist you with planning your night sky photography:
- Photopills: Helps you find the best time and location to shoot the Milky Way or other celestial events.
- Stellarium: Shows you the positions of stars, planets, and constellations.
- SkySafari: Offers a comprehensive sky map, ideal for finding stars, planets, and deep-sky objects.
Be Patient
Night sky photography often requires waiting for the right moment. Be prepared to spend time capturing different angles and compositions, especially as the stars move across the sky. Patience is essential to capturing the perfect shot!
With these tips, you’ll be well on your way to capturing stunning images of the night sky while traveling. Whether you're shooting starry skies over a remote desert or the Northern Lights in the Arctic, the right preparation and techniques will help you make the most of your night photography adventure.


